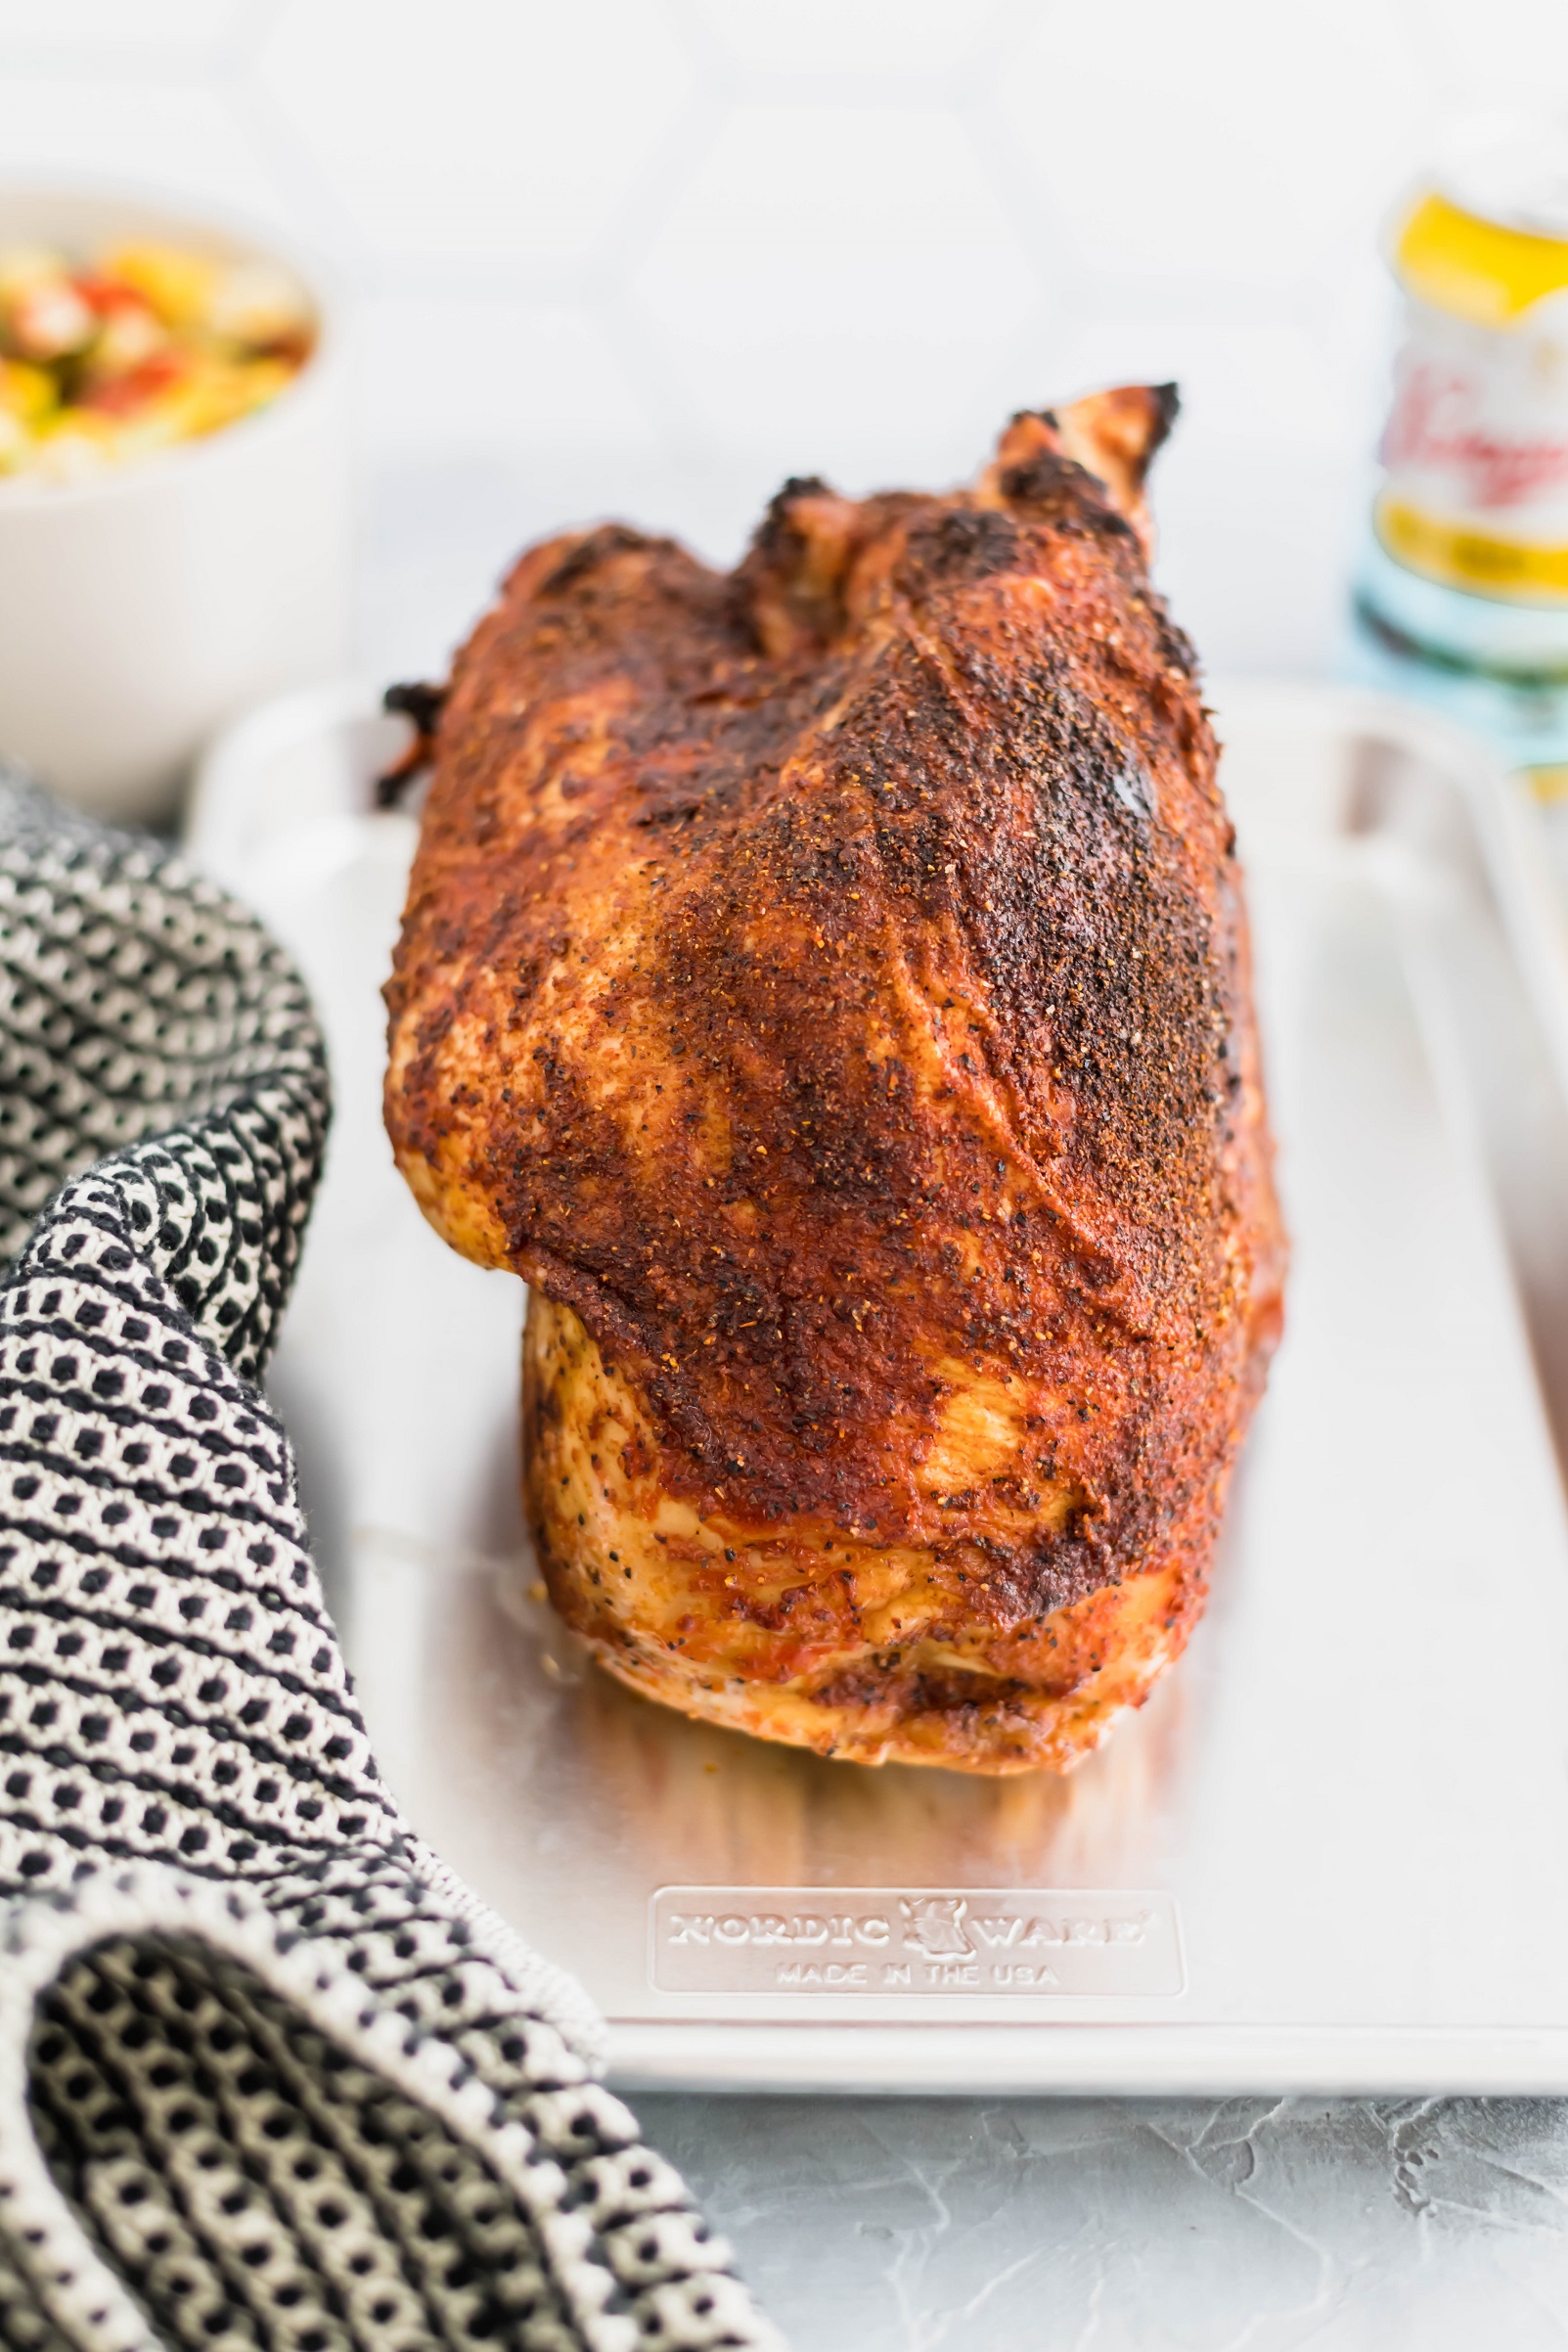
Kick off summer right with this incredible Beer Can Turkey Breast. Spiced with my favorite BBQ Rub, it turns out perfeclty moist and juicy on the grill.
This post is sponsored by the National Turkey Federation. All thoughts and opinions are 100% my own. For more information, please read my disclosure policy.
Listen up my friends. I’ve made a lot of turkey recipes in my time but this one is hands down the best. Not just that I’ve made but that I’ve ever eaten.
You can see just looking at it how juicy this turkey turned out. Using this beer can method and indirect heat on the grill, you end up with the best turkey around.
Keep this one in your back pocket for your cookouts all spring and summer long.

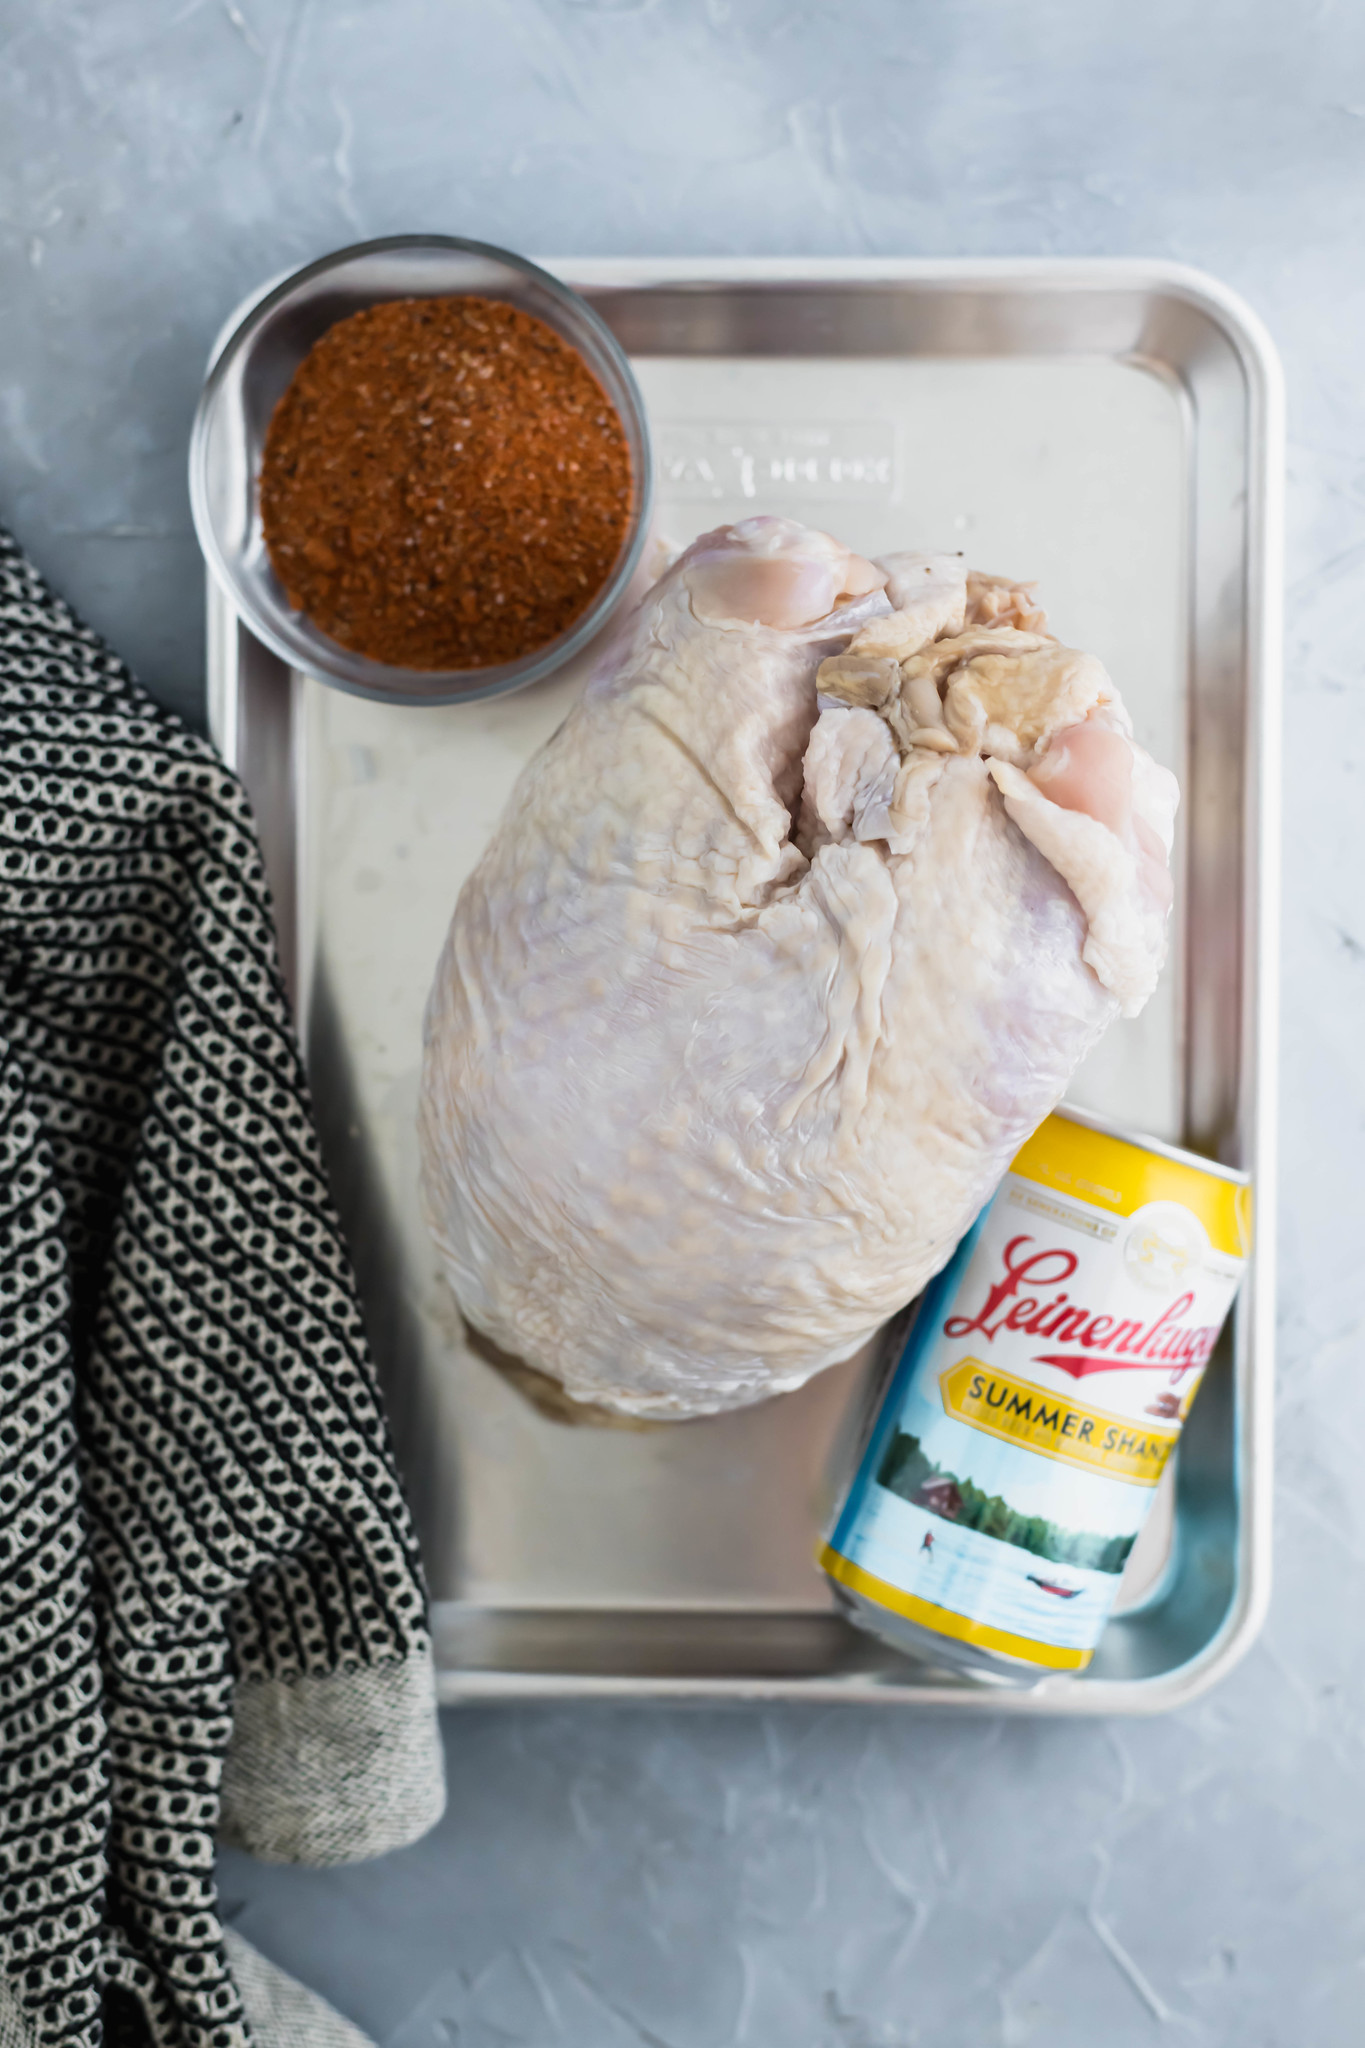
Ingredients for Beer Can Turkey
The ingredient list for this beer can turkey breast is short and sweet.
How to Make the Best BBQ Rub
I used my absolute favorite BBQ Rub on this beer can turkey. The ingredient list is pretty simple and I’m betting you already have most if not all of it on hand.
Here’s what you’ll need:

Mix everything in a bowl until it’s cohesive and you don’t have any big chunks of anything. Store in an airtight mason jar or container for up to 6 months.
If you don’t want to make your own, there are a lot of good store-bought options out there too.
Best Beer for Beer Can Turkey
There are so many delicious options to use and I’m going to share a few of my favorites.
My favorite by far is a shandy. It’s light and super lemony which goes SO nicely with turkey.
Another great option is a lager. It’s not too hoppy or bitter so it provides that beer flavor without being overwhelming.
Sour beers would also be a great option as they often have a citrus or fruity kick.

Turkey Safety Tips
While preparing your beer can turkey, be sure to follow safety tips. I like to remove the packaging in the sink to ensure I don’t drip any raw turkey over my counters.
Place on a dishwasher safe cutting board to continue preparation. Make sure not to use that board for anything else. No cross contamination happening here!
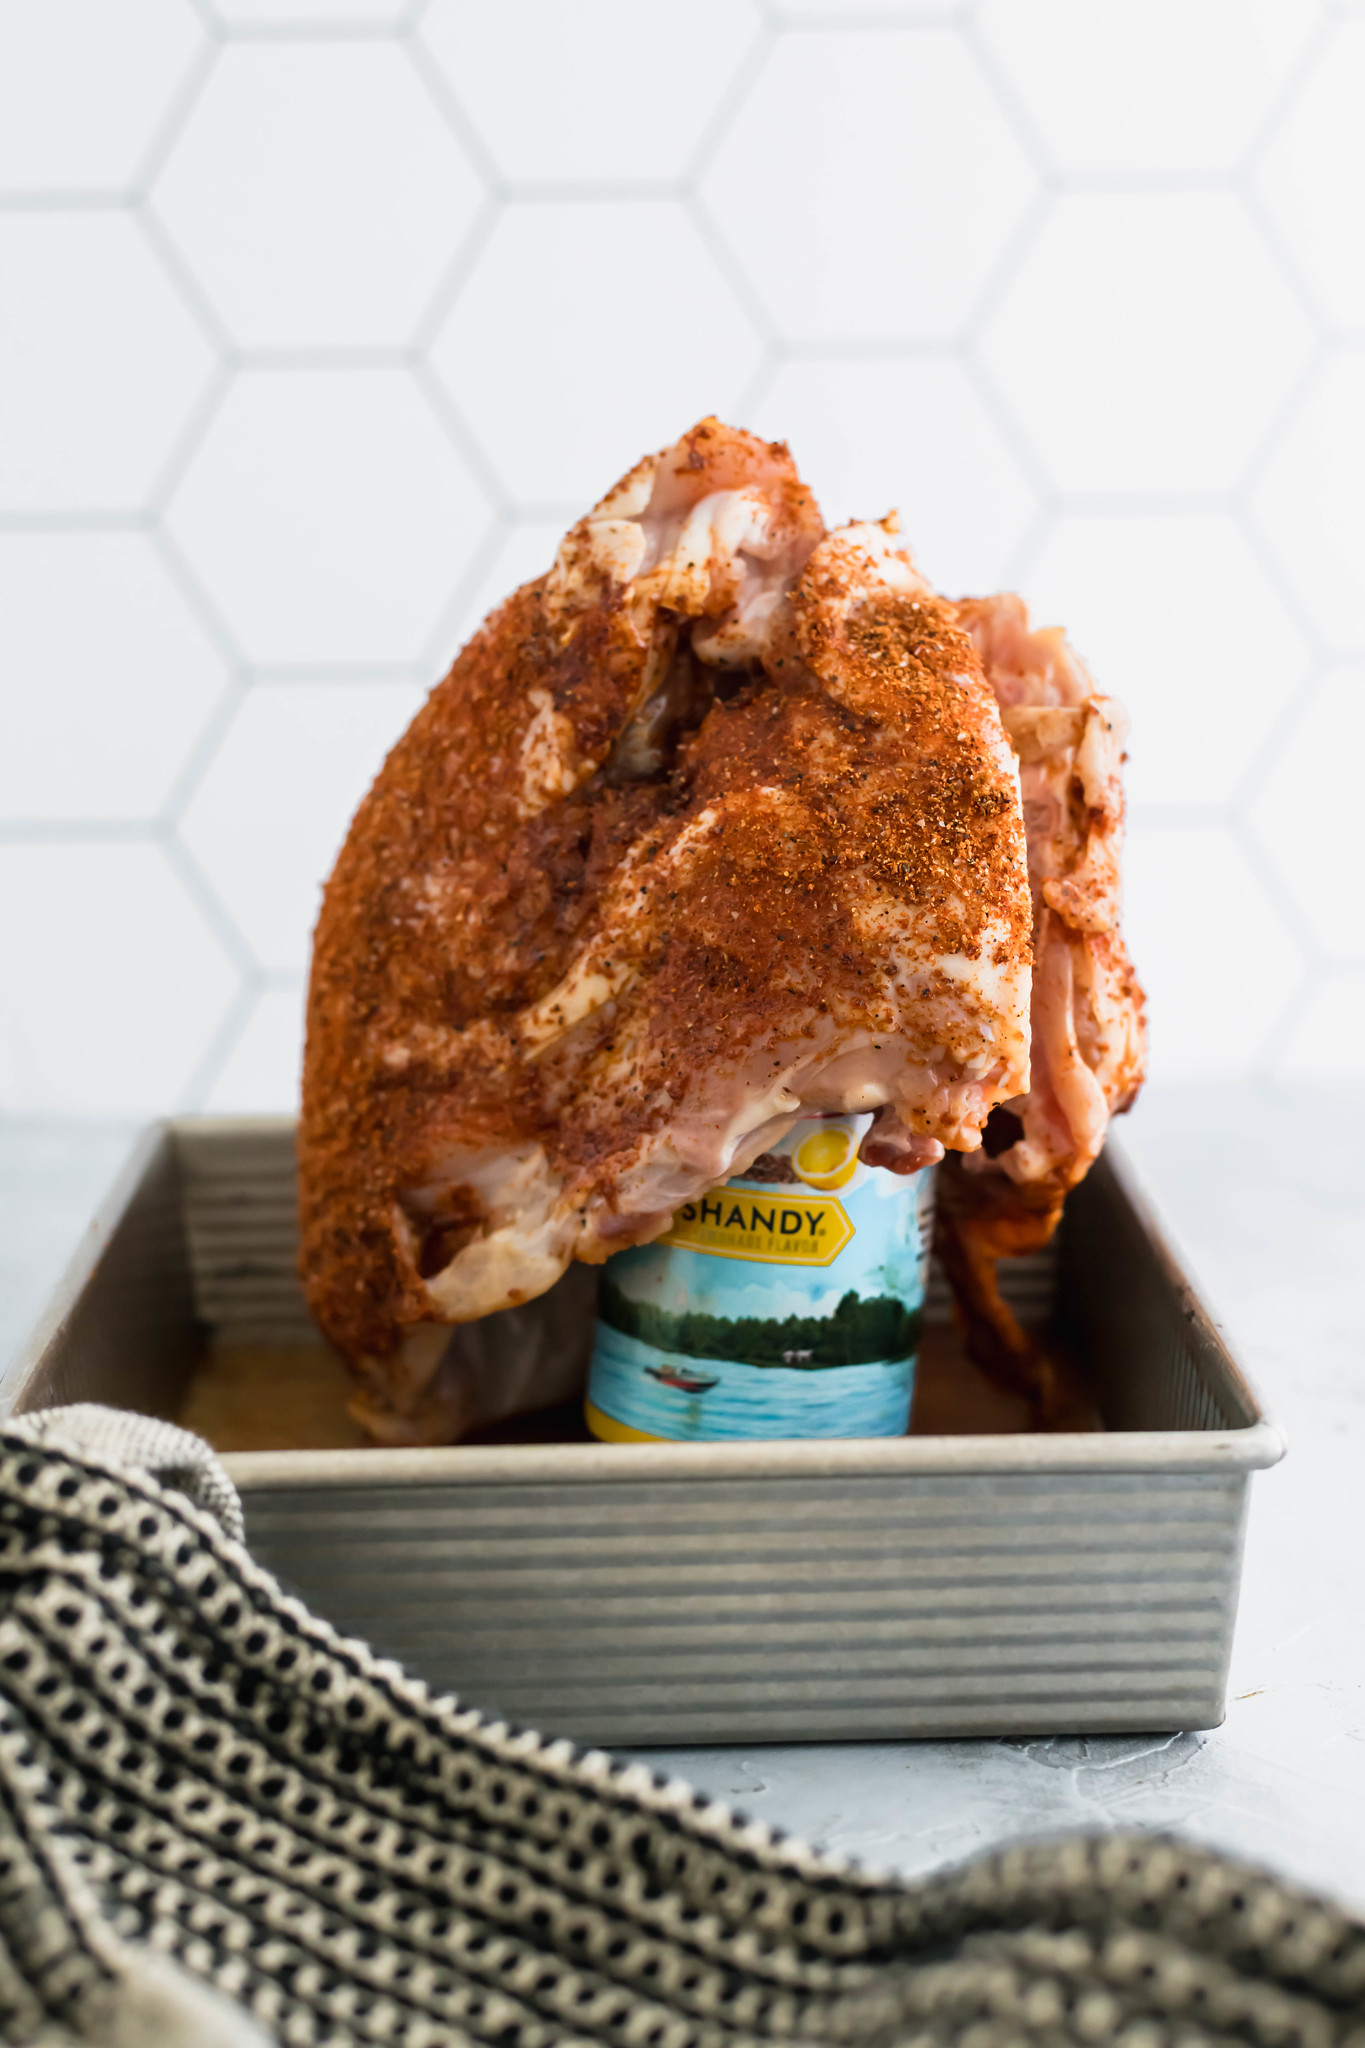
How to Prepare Your Turkey
Like I said above, I like to remove the packaging from the turkey breast in the sink. The turkey may include a gravy packet so make sure to remove that.
Place the turkey on a dishwasher safe cutting board or platter and pat dry with a paper towel.
Brush the turkey with vegetable oil. Now sprinkle on the bbq rub and make sure every spot is covered.
Set it aside and wash your hands well. Now we’ll prep the pan and beer can set up.
Pop open your can of beer and pour out a few ounces into a metal pan that you can place on your grill. I used my favorite 8×8 pan and it worked out perfectly.
It needs to be sturdy because the turkey may need to lean against the edge while grilling. Don’t use anything glass or ceramic, it may crack.
Place the can into the pan and place the bone-in turkey breast over it. Balance it if you can. If not, gently lean one side of the turkey on the edge of your pan.

Grilling Beer Can Turkey
We’re going to be grilling the beer can turkey over indirect heat. What does that mean?
It means we are going to heat one side of the grill. If you have a gas grill like I do, light half of the grill, close the lid and heat to 350 degrees.
If you have a charcoal grill, place the charcoal on one side and heat to medium. Leave the other side empty.
Place the prepare turkey in the pan on the side of the grill that is NOT hot. Because it’s a big piece of protein, this will ensure it cooks all the way through without burning or getting to dry on the exterior.
Insert a meat thermometer and close the lid. We want to keep all the heat inside, so try to resist lifting the lid. Grill for about 20 minutes per pound.
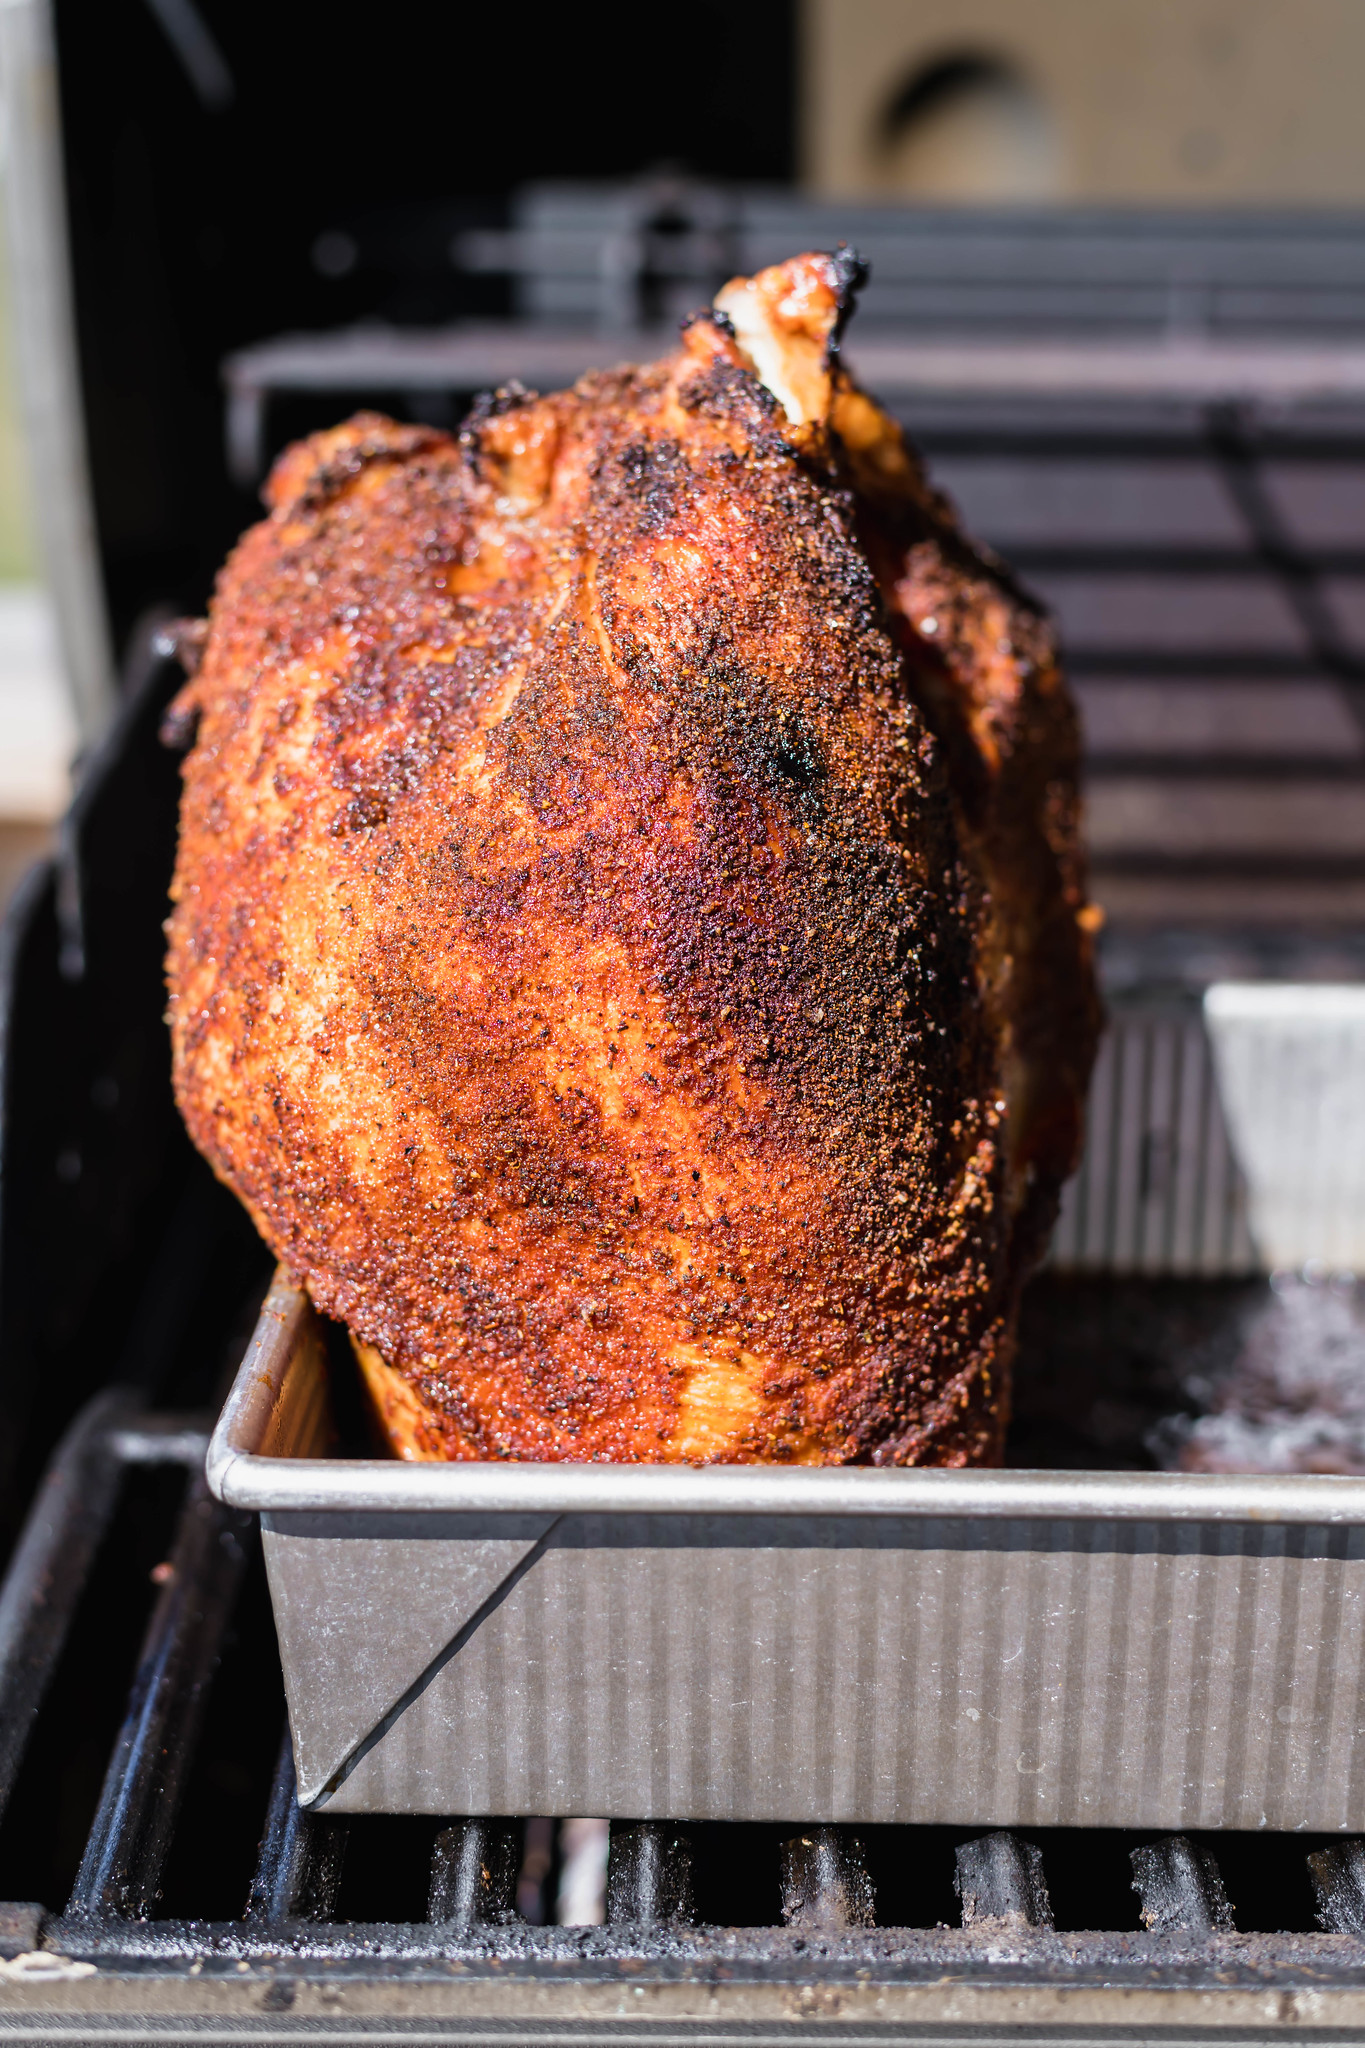
Cooked to Perfection
So I just mentioned a meat thermometer above and I think it’s so important for this recipe. I always want my turkey cooked to juicy perfection and this simple kitchen gadget helps me be successful every time.
A digital meat thermometer. I swear by these for any type of poultry or meat I’m cooking, especially on the grill or in the oven.
Because ovens and grills can flucuate as well as the size of your turkey, this is the most accurate way to have perfectly cooked results.
I include a time frame for cooking in the recipe card below but a digital thermometer will definitely help you have the perfectly cooked beer can turkey.
Turkey should always be cooked to 165 degrees for safety. Once the turkey reaches 160 degrees, remove it from the grill and let it rest for 10 minutes.
As it rests, it will continue to cook. Leave the thermometer inserted as it rests to ensure it reaches the proper temperature before carving.
Letting the turkey rests lets all the juices redistribute and that means you’ll have a perfectly cooked bird.
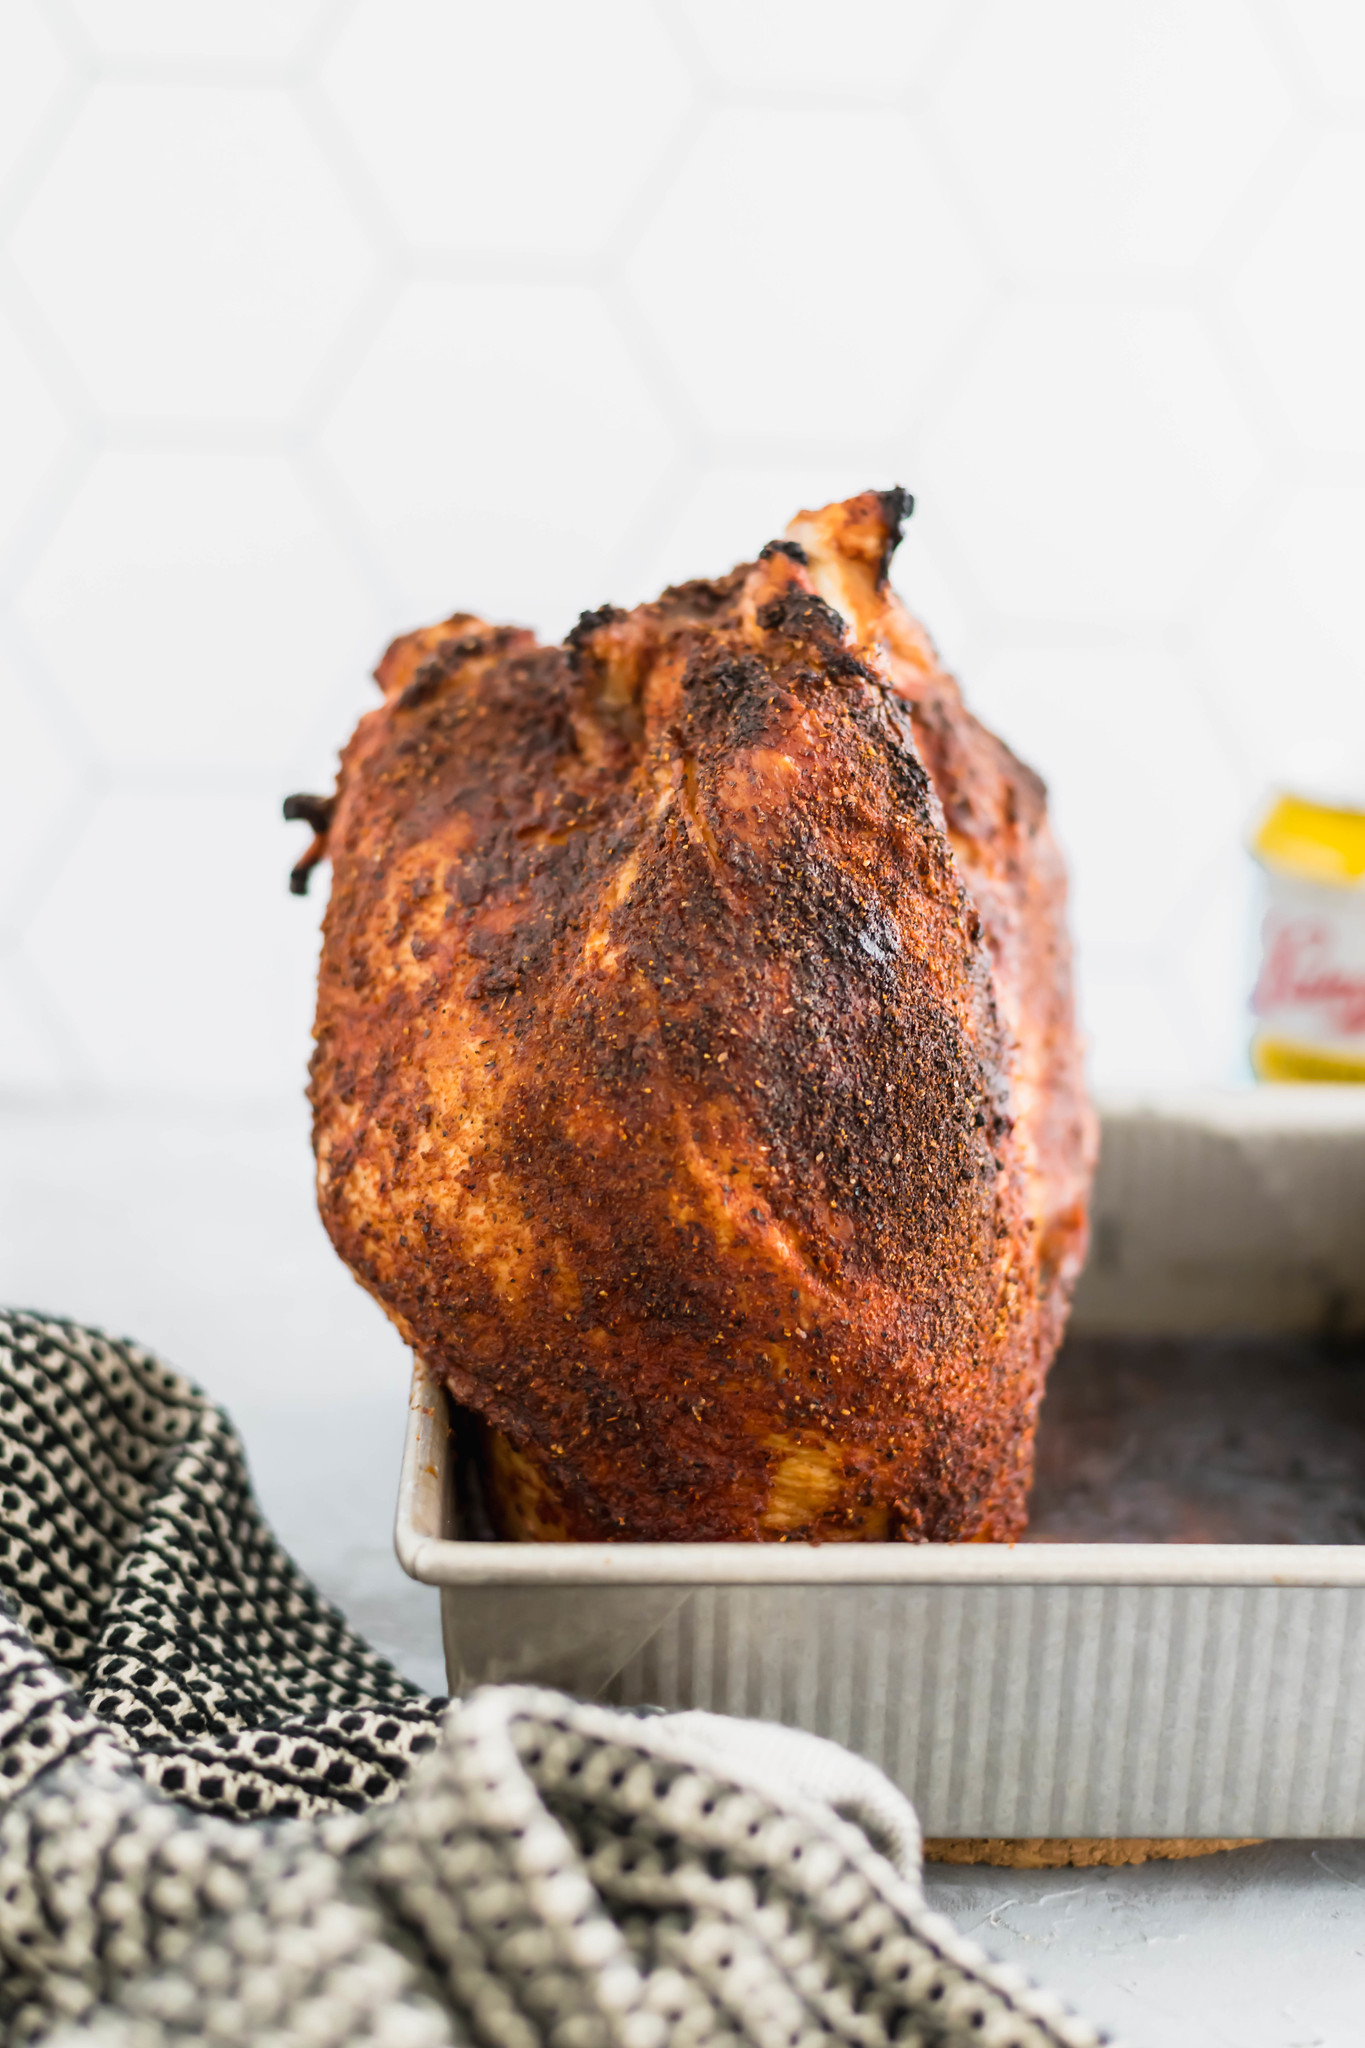
The Best Turkey Recipe Yet
I’ve cooked a lot of turkey recipes in my day but I’m telling you, this is the best one yet.
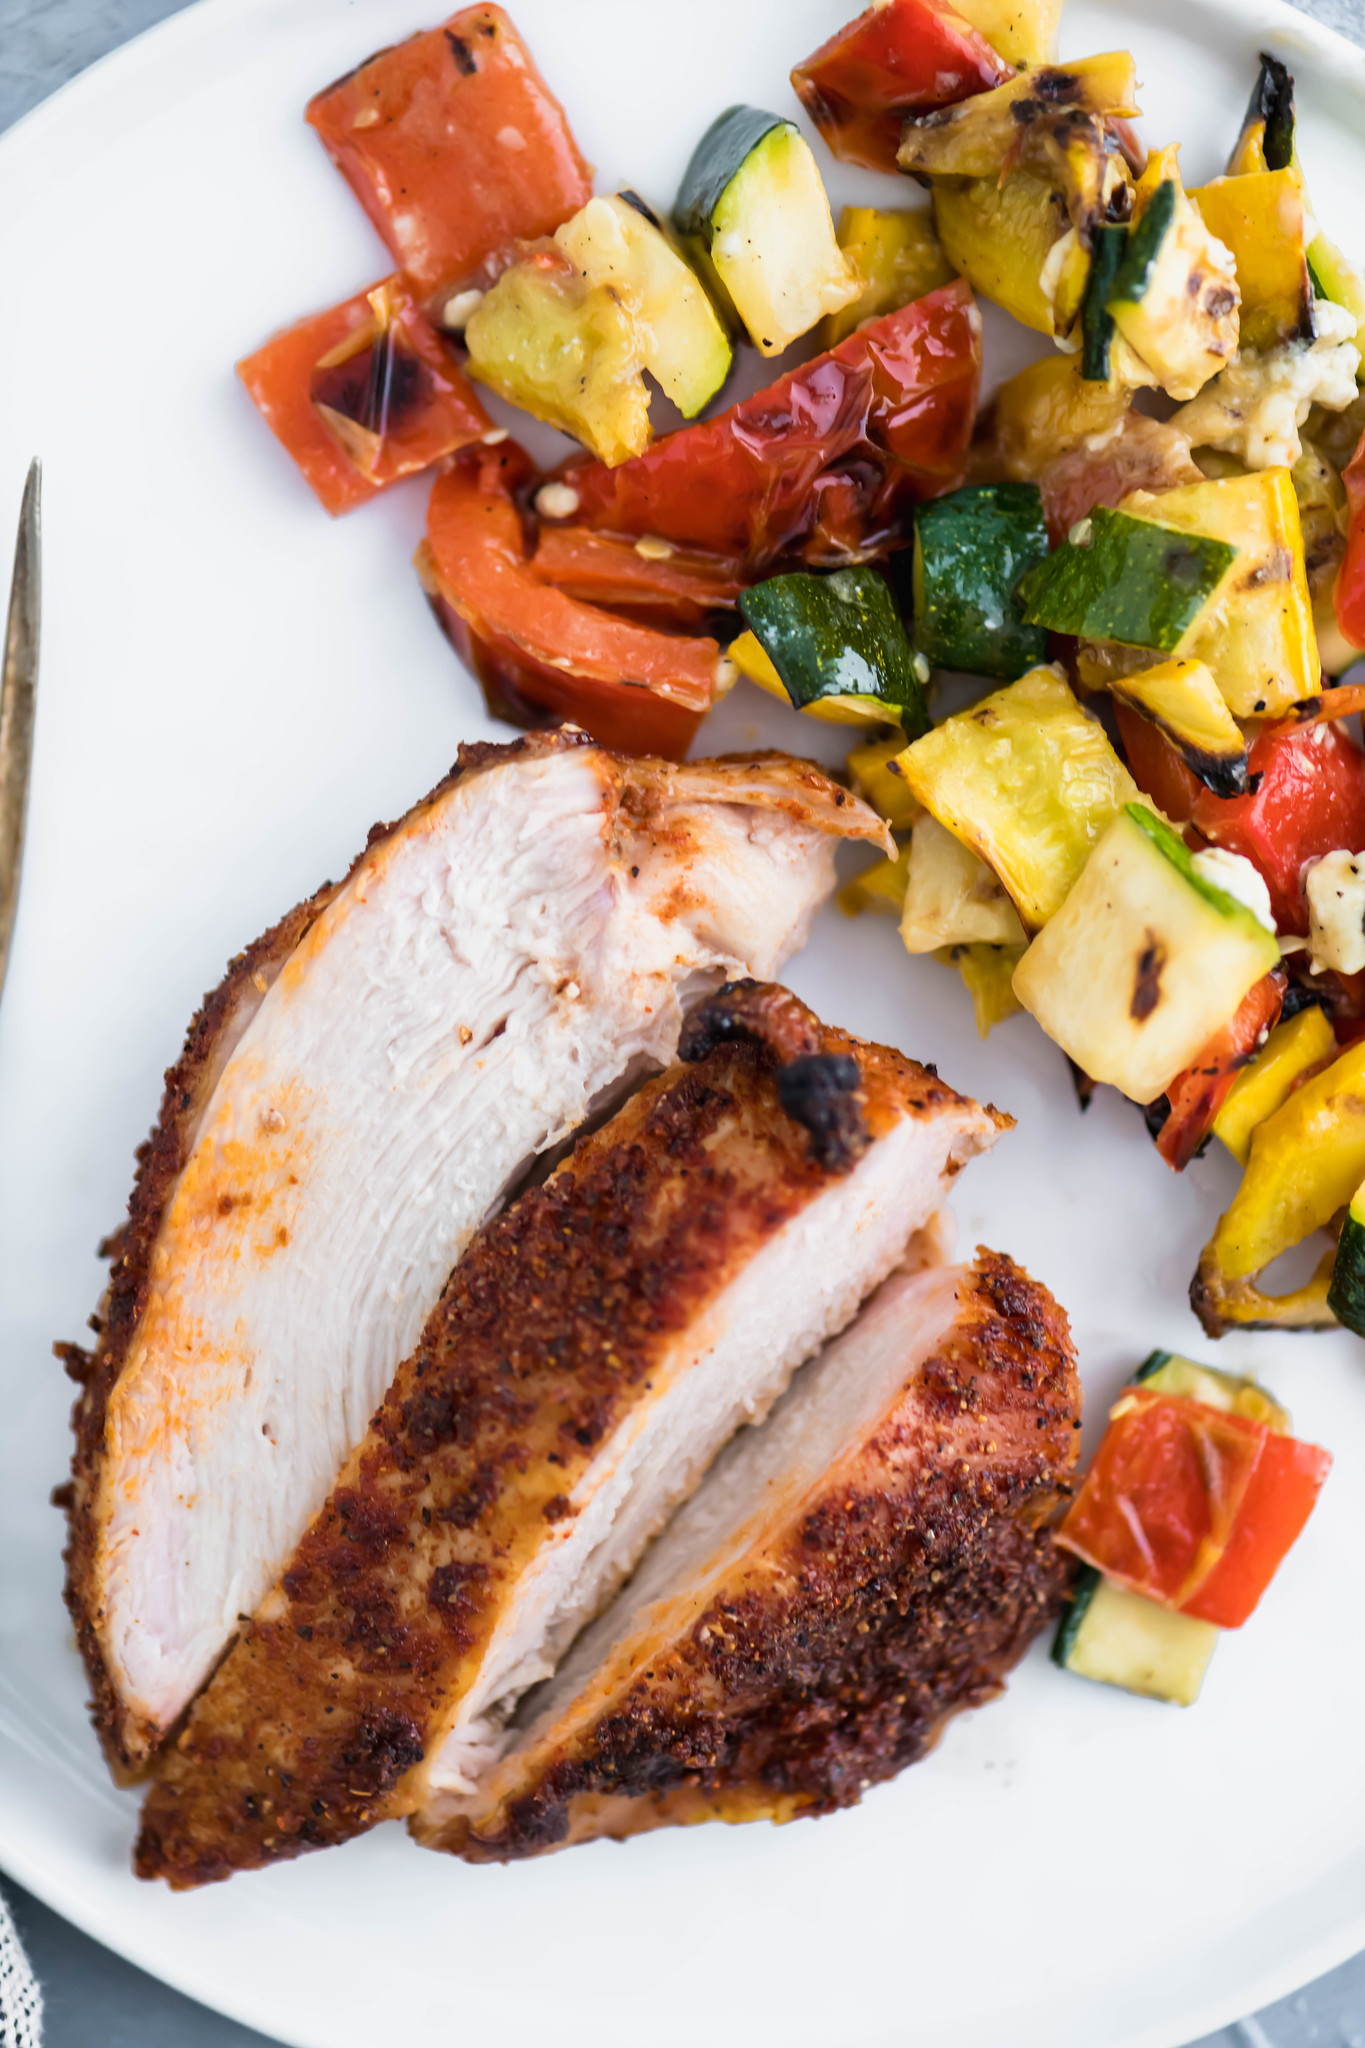
It was SO juicy and tender. Between the beer and the indirect heat, it was cooked to absolute perfection.
The skin became super crisp and was perfectly spiced for all the summer barbecues. I can’t wait to make this beer can turkey breast ALL summer long.
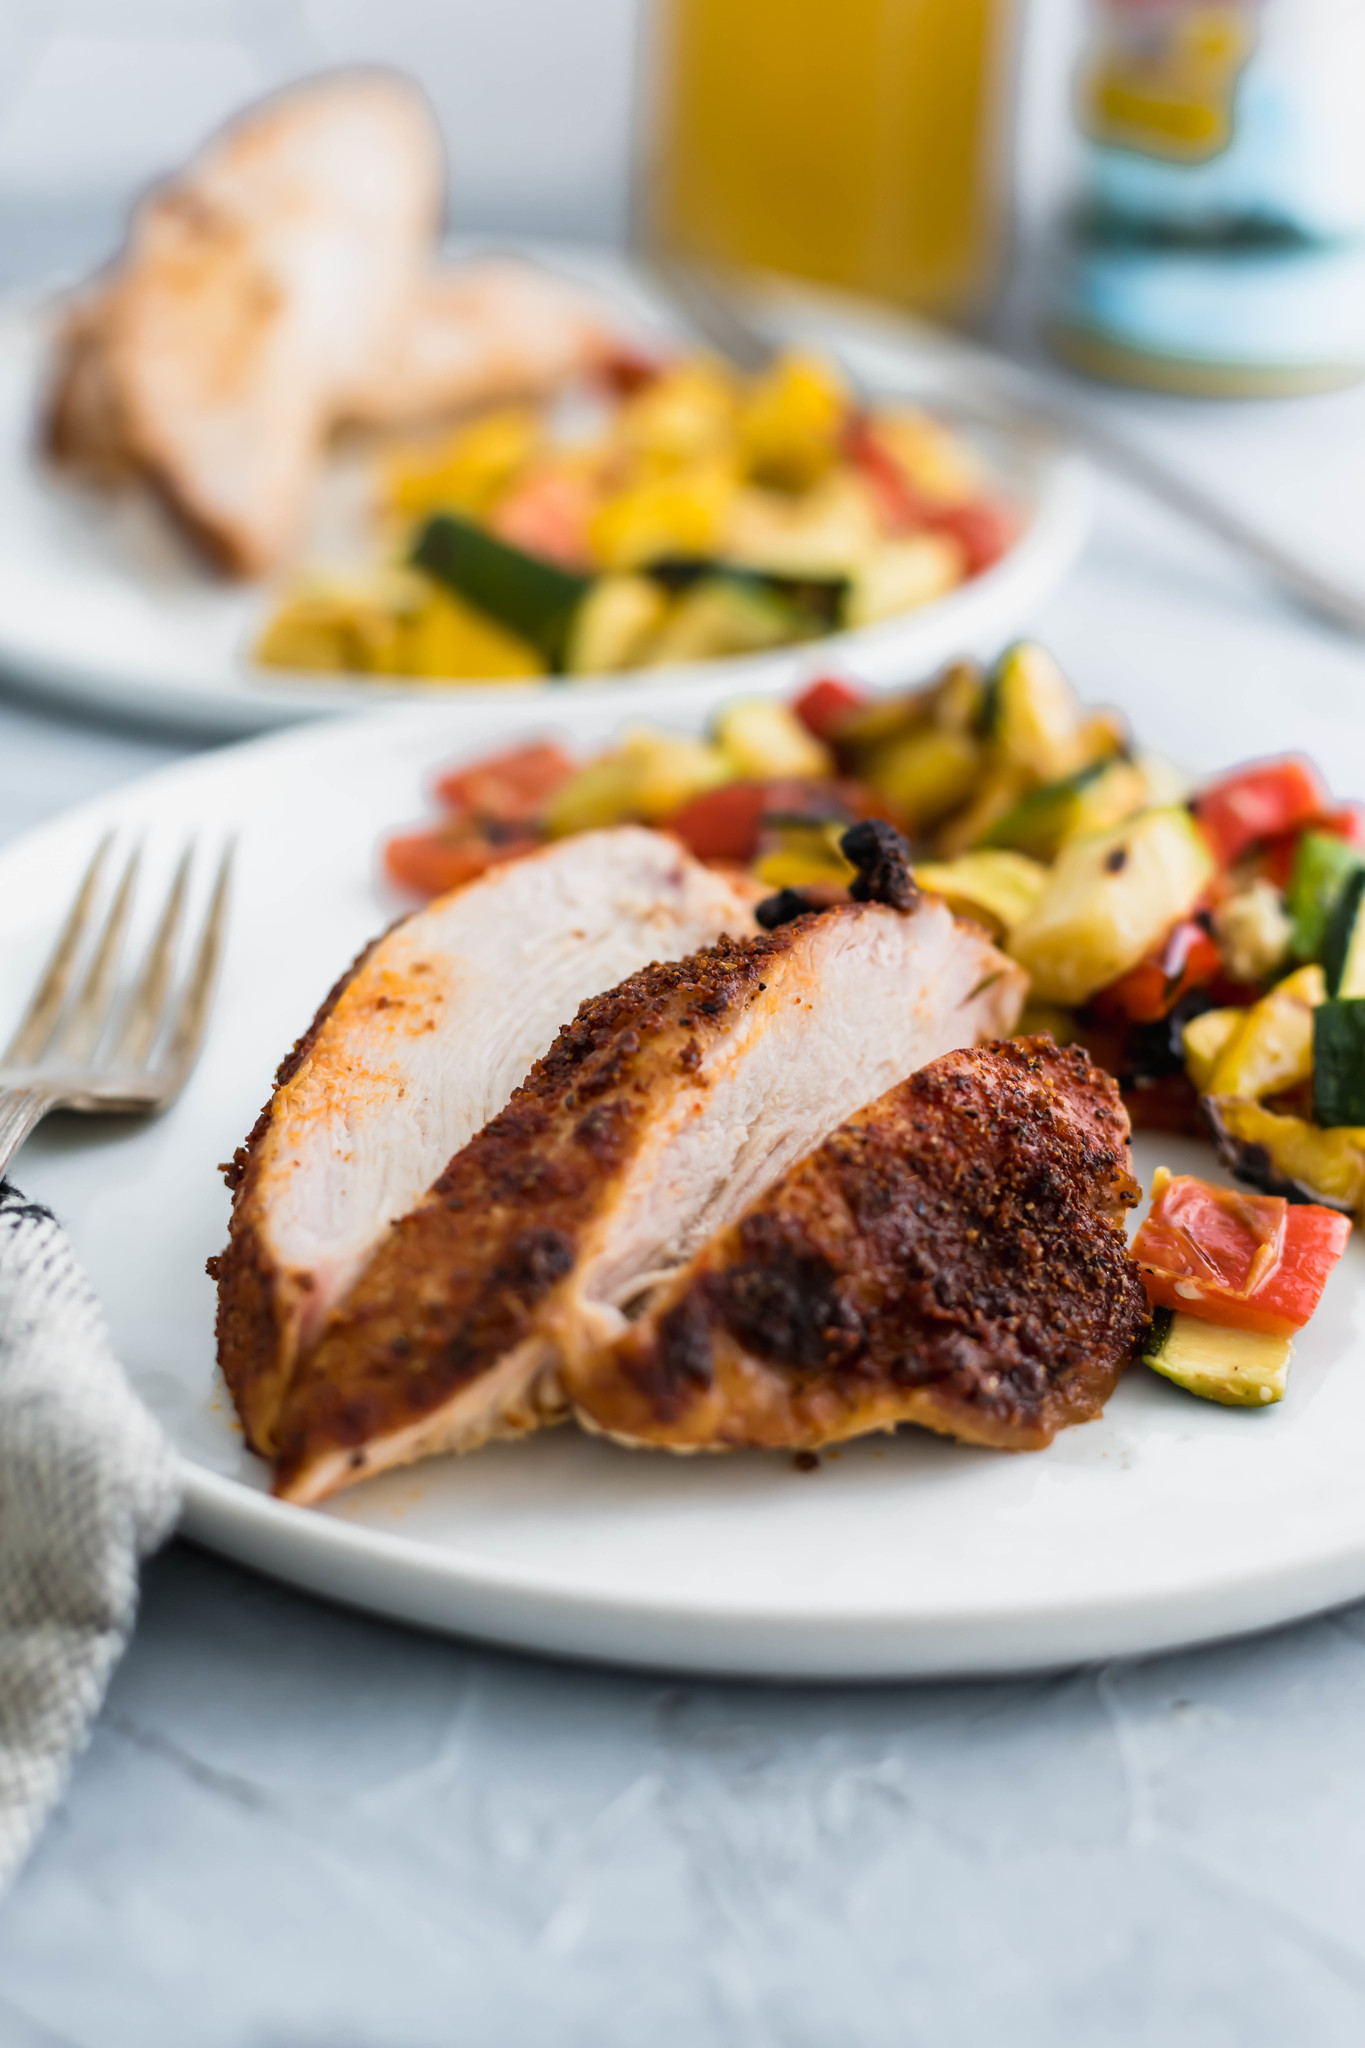
More Delicious Summery Turkey Recipes
Looking for more ways to enjoy turkey all spring and summer long?! Here are some of my favorite recipes you have to try!
This post has been sponsored by the National Turkey Federation. All thoughts and opinions are my own.
Beer Can Turkey Breast
Equipment
- Grill
Ingredients
- 4 to 5 lb. bone-in turkey breast
- 2 Tbsp. vegetable oil
- 1/3 cup BBQ Rub
- 12 oz. can beer
Instructions
- Heat half of your grill over medium heat (350 degrees for a gas grill). Keep the lid closed.
- Remove turkey from packaging and discard any packets that may be included. Place on a dishwasher safe cutting board and pat dry with a few paper towels. Brush the turkey with vegetable oil. Sprinkle rub over the turkey and press in to ensure it's all covered.
- Open the can of beer and pour out 3 ounces into a sturdy metal pan that can go on the grill. Place can into the pan. Place turkey over the can of beer and balance it so that it is upright. If it will not balance on its own, lean it against the side of the pan.
- Insert a meat thermometer into the thickest part of the turkey breast, making sure it's not touching bone. Place the pan onto the cool side of the grill and close the lid quickly. Cook for one hour without lifting the lid. Baste turkey with any drippings from the pan and check the temperature. Continue cooking until temperature reaches 160 degrees. It will be about 20 minutes per pound. My 4.5 pound bone-in turkey breast took 1 hour and 35 minutes.
- Place the turkey on a clean platter and let rest for 10 to 15 minutes. In this time the turkey will continue cooking and reach 165 degrees F. Slice and serve.

