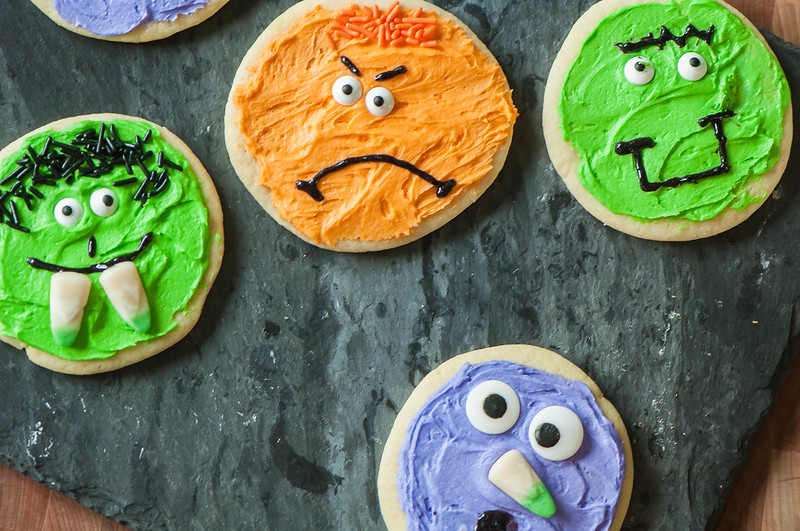
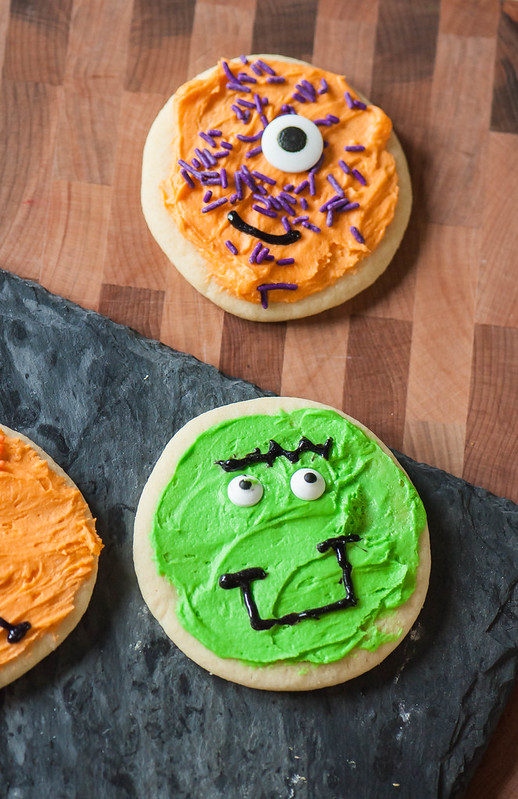
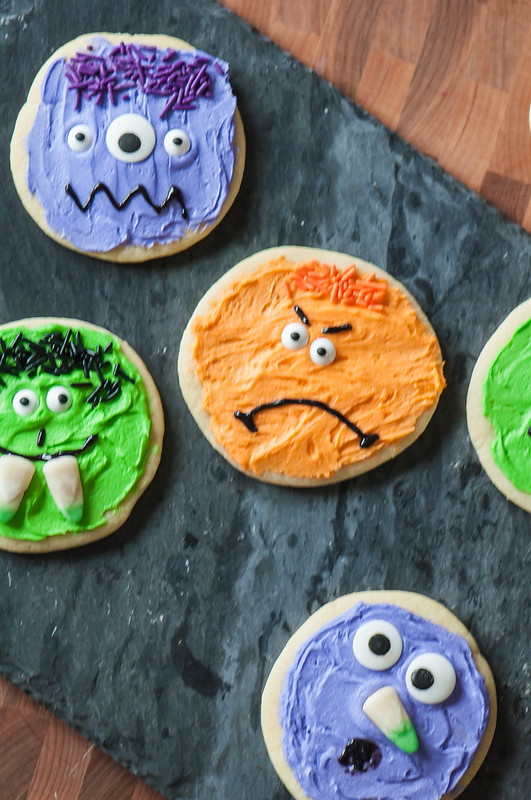
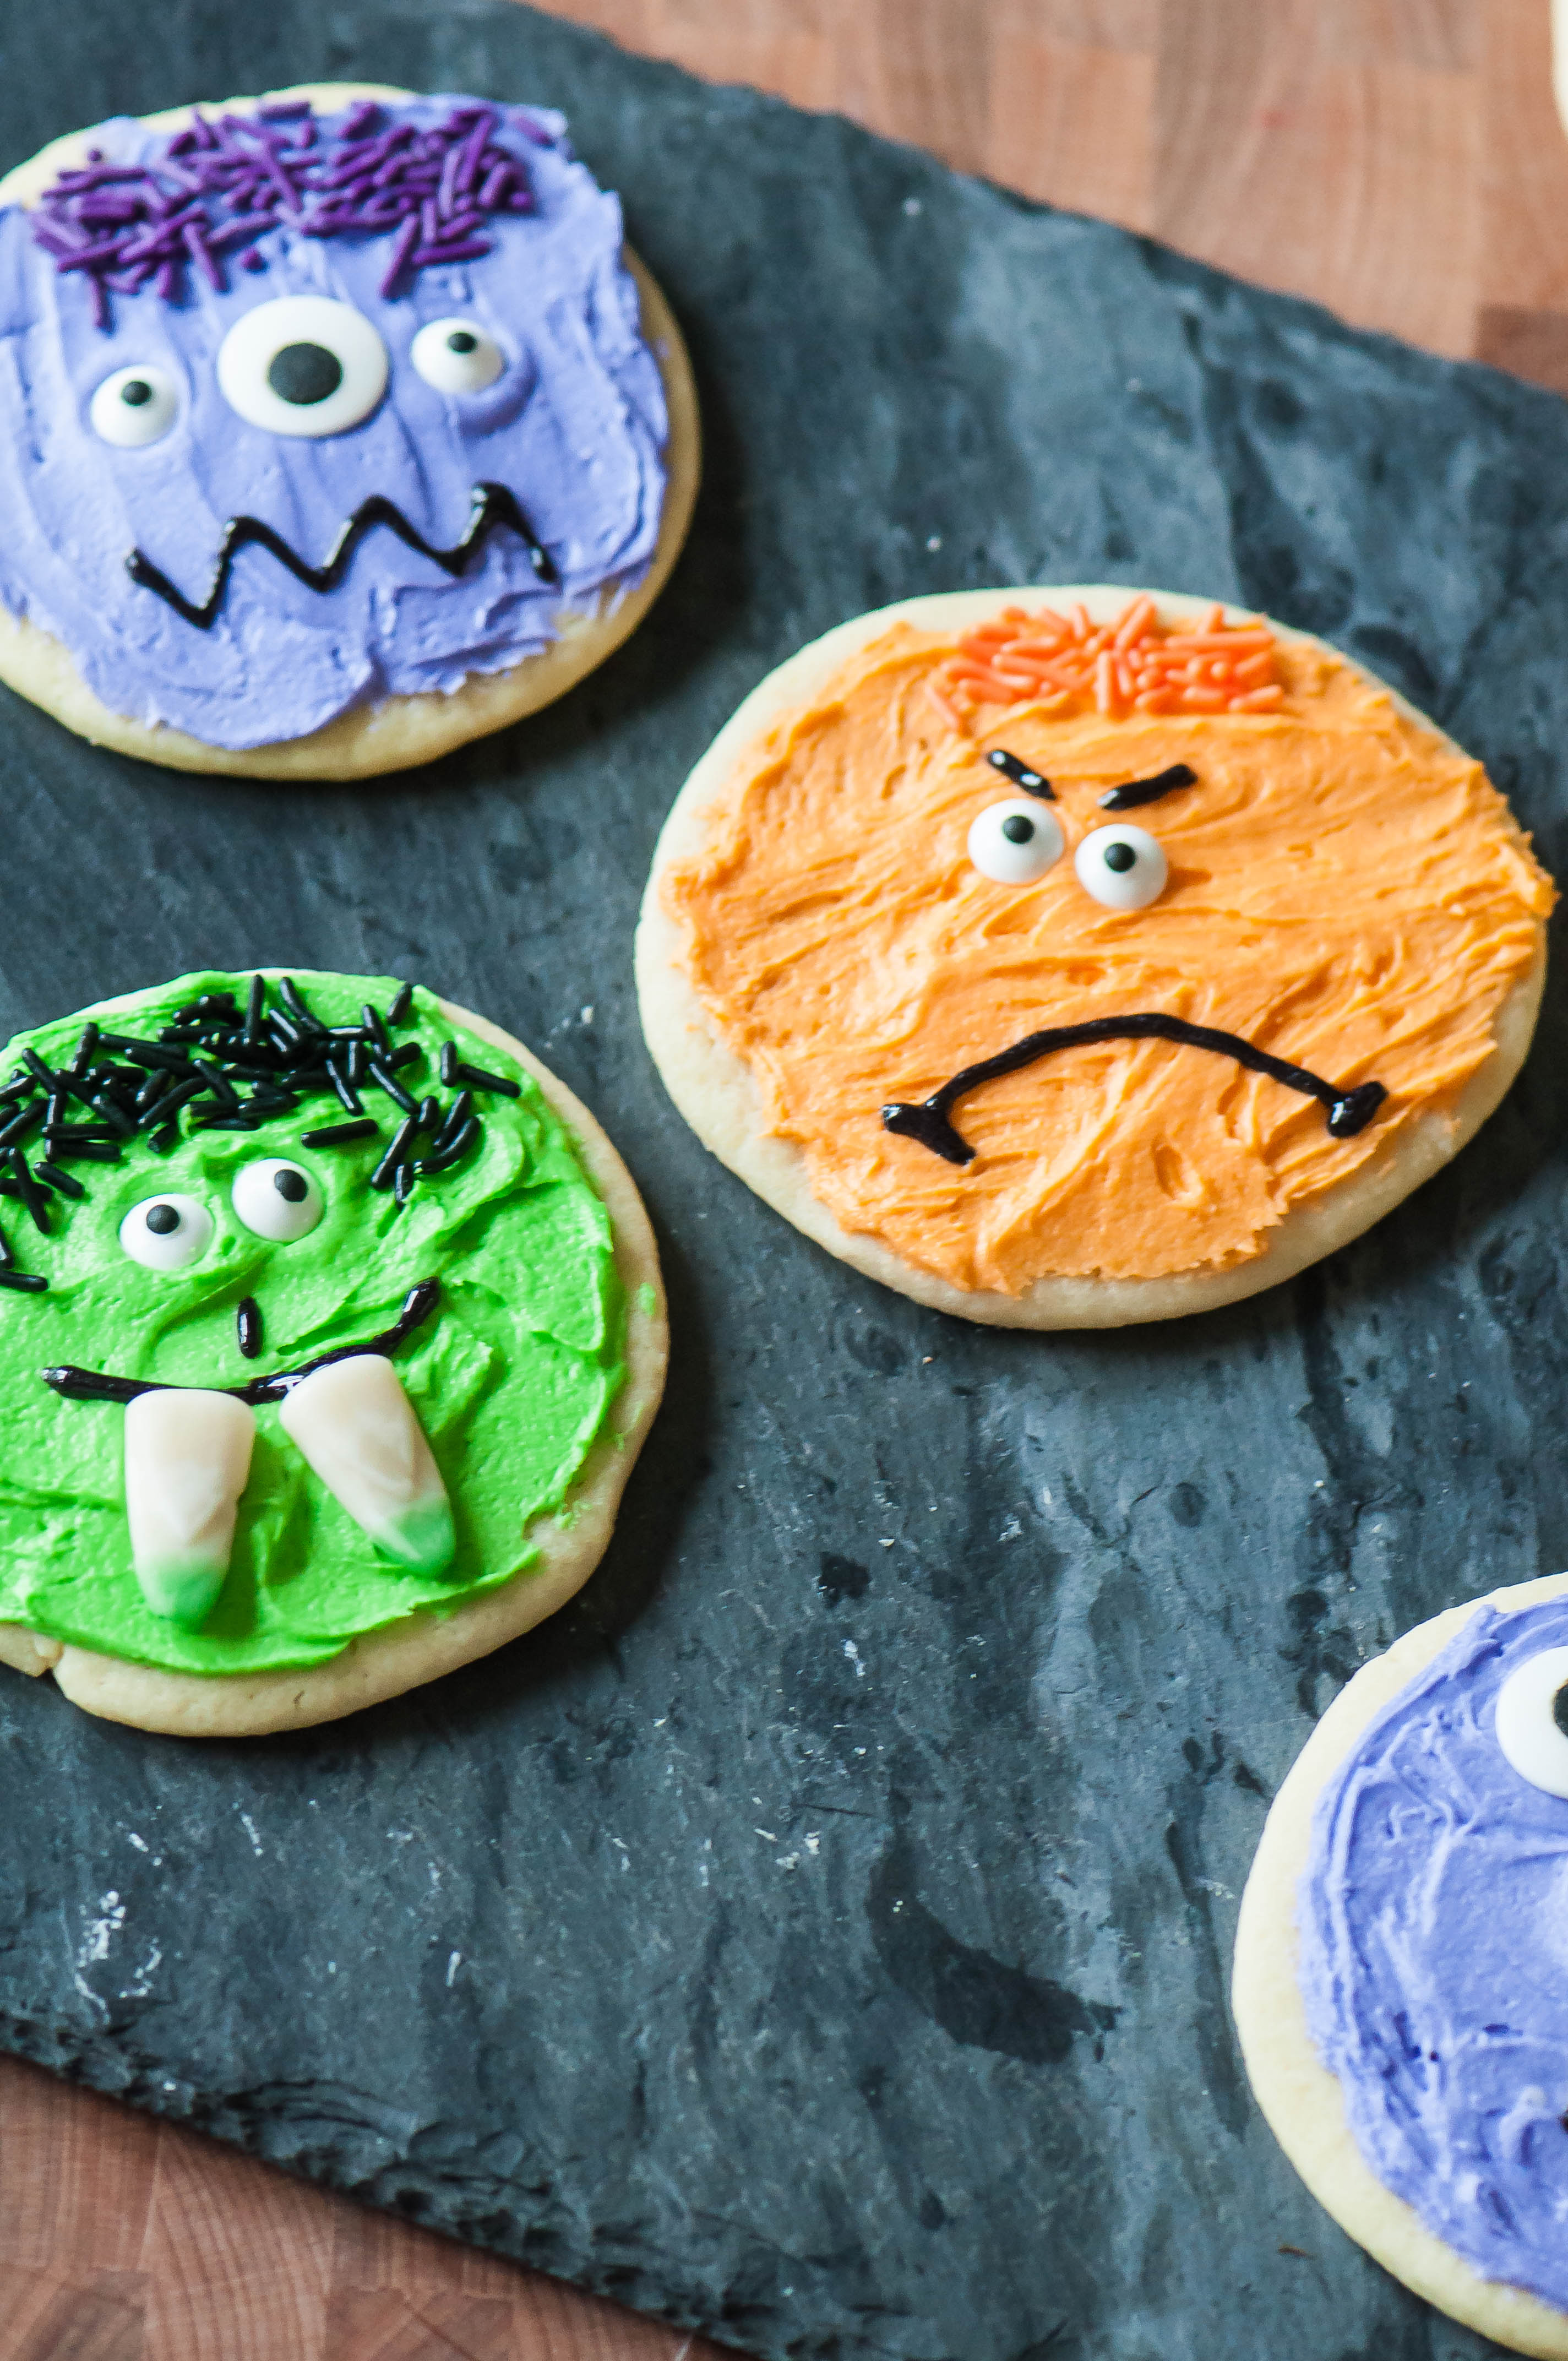
Gather up your sprinkles and candy googly eyes to celebrate Halloween with these adorably frightening Halloween Monster Sugar Cookies. Simple to make and even better to eat.
Do you guys completely love watching those cookie decorating videos on Facebook? They are kind of addictive and mesmerizing, right? I admit I get sucked into the vortex semi-regularly watching people’s mad decorating skills.
As much as I love watching them, I have zero desire to actually do that kind of decorating myself. I tried my hand at it for Noah’s 1st birthday and while they turned out pretty adorable considering it was my first try, it took FORever and these days I just don’t have the time or desire. There are professionals for that.
So instead of beautifully intricate sugar cookies, I’m bringing you buttercream frosted, sprinkle coated, googly eye wearing sugar cookies. They are more fun to eat anyway since you won’t be crying silent tears about the hours it took to decorate them and the seconds it took to inhale them.

I baked and frosted these while the kids were at school then decorated about 10 myself for “blog worthy” photos and saved the rest for a fun after school activity. Both of my kids love anything art like or creative so I knew they would love decorating their own Halloween monster sugar cookies. They went to town creating their creepy, crazy monsters and it managed to be relatively mess free (place their cookie on a big plate while they are decorating to keep all the sprinkles on the plate instead of the table and floor).
Another tip if you have kid assistants is buy twice as many sprinkles as you think you’ll need. Hannah used so many you could no longer see the frosting. Girlfriends loves the sprinkles.
But what might be even more important is that these cookies taste as delicious as they are cute. They are actually my absolute favorite cookie in all the land. Not even exaggerating.
The cookies are so soft and the thick, creamy buttercream is the perfect frosting. We always make these at Christmas and often for birthdays too.

A word on food coloring. If you want bright, glorious colors please use gel food coloring. It costs more money but will last you so much longer, it won’t mess with the texture of your frosting and the color will be so much more vibrant. Wilton and AmeriColor are my favorite brands (not sponsored but these are affiliate links).
Like most sugar cookie recipes, the dough needs to be chilled so be sure to plan ahead when making these. I usually make the dough the day before and refrigerate it overnight. Not that these cookies are overly complicated or time consuming but making the dough the night before splits up the workload and provides more time for decorating. But if you don’t have that kind of time or forgot, 1 hour is sufficient too so no worries.

If you have a Halloween party these would be a great activity to keep the kids busy. Throw a big plastic tablecloth under a kids table, set out pre-frosted cookies, sprinkles, candy eyes and tubes of black frosting and let them go nuts. You could also set up a table for any adults that may want to participate. Eh-em, me.
Either way, these Halloween Monster Sugar Cookies are sure to put a little fright and whimsy into any celebration.
Halloween Monster Sugar Cookies
Ingredients
For Cookie Dough:
- 2/3 cup butter, softened
- 2/3 cup shortening
- 1 1/2 cups granulated sugar
- 2 large eggs
- 2 tsp. vanilla extract
- 2 Tbsp. + 2 tsp. milk
- 4 cups all-purpose flour
- 1 Tbsp. baking powder
- 1/2 tsp. salt
For Buttercream Frosting:
- 2 sticks unsalted butter, softened
- 4 cups powdered sugar
- 1/4 tsp. kosher salt
- 1 Tbsp. milk
For Decorating:
- Gel food coloring
- Sprinkles
- Candy eyeballs
- Candy corn
- Black gel frosting in tube
- 3-inch round cookie cutter
Instructions
- In a stand mixer, cream together the butter and shortening. Add sugar and mix until light and fluffy, 2 to 3 minutes. Add eggs, incorporating one at a time. Add vanilla and milk and mix until combined.
- Slowly add flour, baking powder and salt to cookie dough until it is all incorporated. Divide dough in half, form into disks and wrap in plastic wrap. Chill for at least 1 hour or up to overnight.
- When ready to bake, preheat oven to 350 degrees F. Line cookie sheets with parchment paper or coat with nonstick spray. Generously flour a flat surface and rolling pin. Divide each disk in half and roll out one portion to 1/4-inch thickness (keep dough not being rolled refrigerated). Cut cookies using 3-inch round cookie cutter. Place on prepared pan 2 inches apart. Bake for 8 minutes. Allow to rest on pan for 2 minutes then remove to a wire rack to cool.
- For the frosting: cream the butter until smooth. Add remaining ingredients and cream until light and fluffy, 3 to 4 minutes. Divide frosting into small bowls and color them as you wish with gel food coloring.
- Frost cooled cookies and decorate as desired. Store in an airtight container with parchment or wax paper between each layer to prevent them from sticking together.


