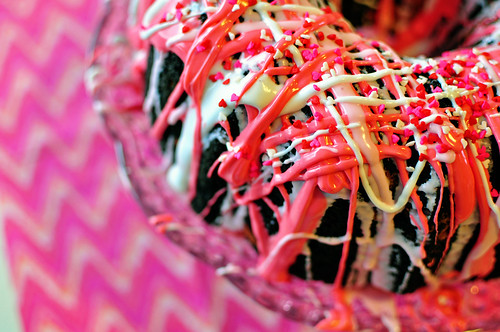
I love festive sweets and treats so whenever a holiday rolls around I jump on the chance to make something cute and kitchy. And this is the official one for Valentine’s Day people (but don’t worry, I may have other things up my sleeve too).
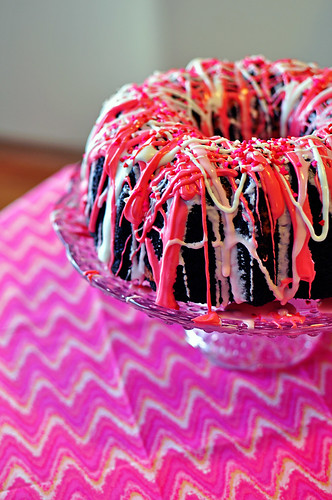
I originally came across this idea on Pinterest when I saw it in a red, green and white theme for Christmas and thought, why not for Valentine’s Day? I clicked over to the original blog and saw that she already had that thought…and integrated chocolate into the mix which is perfect for this lovely hallmark holiday.
Don’t get me wrong, I enjoy Valentine’s Day but it’s kind of hard to consider a holiday if you ask me. But, it gives me a reason to make pretty, sprinkly, pink things so I guess I’ll go with it.
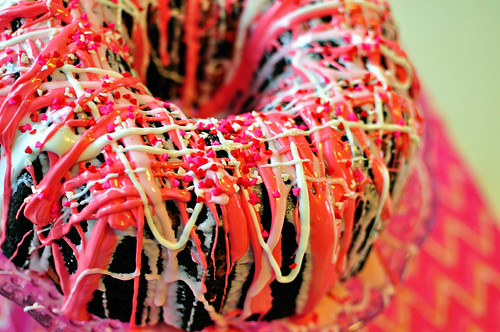
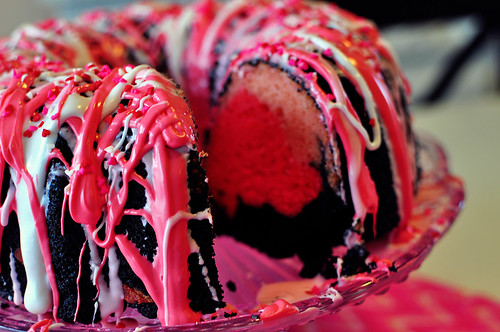
The original recipe uses pink, red and black swirled cake to make a fun pattern but I have never liked the combination of pink and red. They don’t go and it bothers me. Call me crazy, maybe I am? I just couldn’t do it. So instead I went with a light pink, fushia and black. It still turned out very cute and Valentine’s-y. Especially because of those adorable itty bitty heart sprinkles. Love.
Another Pinterest find….how to make a cake mix taste like a bakery quality cake. I like using cake mixes as a starting point but I just can’t stand the idea of not doctoring them up somehow so when I saw this little idea I kept it in the back of my mind for future use. And this was the perfect time to put it into play.
Random side note: that last sentence sounded sports-related…Joel is already sports obsessed and now his job revolves around sports….too.much.football.talk. It’s not good for my brain.
Ok, back to the cake mix trick. To make it taste oh so much better, replace the water in the recipe with milk (I used skim), add an extra egg for richness and replace the oil with double the amount of butter. Oh yeah, delicious.
It came out super moist and if I wasn’t the one who had made it, I would have never guessed it started with a mix.
For step by step photos of the process, click here.
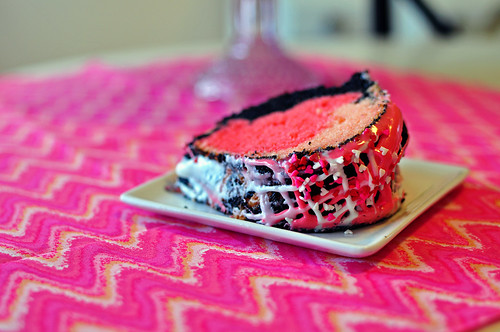
- 1 box white cake mix
- Water, vegetable oil and eggs called for on cake mix box
- 1 box dark chocolate cake mix
- Water, vegetable oil and eggs called for on cake mix box
- Black food coloring (I use Wilton Food Coloring Gel)
- Red food coloring (I use Wilton Food Coloring Gel)
- 1 (12 oz.) can white frosting
- Colored Sprinkles
- Heat oven to 325°F. Generously grease a 12-cup bundt cake pan. Make cake batters as directed on boxes. Divide the white cake into two separate bowls.
- Add some red food coloring to one bowl and mix to the desired shade of pink. Add red to the other and mix to the desired color red.
- Pour 2/3 of the chocolate cake batter into a bowl and mix with a few drops of the black food coloring. Discard the remainder of the batter or use it for cupcakes. (You only need 2/3 of the chocolate cake batter, if you use the whole thing in won’t fit in the tube pan).
- Pour 1/2 of the chocolate cake mix into the bottom of the greased pan. Carefully pour the pink over the chocolate, making sure you don’t stir it. Just pour it on top.
- Then, carefully pour the red batter over the pink batter and pour in the remainder of the chocolate.
- Bake as directed on box or until toothpick inserted in center comes out clean. Cool 5 minutes.
- Turn pan upside down onto cooling rack that is placed over a cookie sheet. Cool cake completely, about 30 minutes.
- Once cake is cool, equally divide your frosting into 3 bowls. Use the food coloring again to make one bowl red, one bowl pink and leave one white.
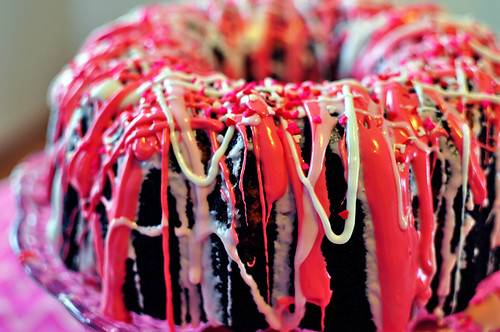
- Microwave each bowl of frosting for a few seconds on high until it is smooth enough to drizzle over the cake (about 10-15 seconds). With a spoon, drizzle the pink frosting back and forth around the whole ring in a striping pattern until you use it all. Then do the same with the red and then the white.
- Sprinkle with colored sprinkles if using. Set cake aside to dry. Store loosely covered and unrefrigerated. Cake can be made a day or two in advance.

January 25, 2013 at 6:10 am
So pretty!!! Love your photography!!!!
January 25, 2013 at 12:11 pm
Thanks so much! One of my New Years resolutions was to only shoot in full manual (which was really scary for me) so that really means a lot!
February 4, 2013 at 9:19 am
It’s fantastic that you are getting ideas from this post as well as from our dialogue made here.